Showing posts with label makeover. Show all posts

Tuesday, August 02, 2016

Flexible Seating - Crate Cushions

I am so proud of myself right now. I'm jumping in the deep end of the Flexible Seating arena this year and have already blogged about some ideas I had HERE.  I wanted to create some type of cushion for these crates I bought at Walmart. The crates are going to hold student work and Friday Folder materials and to help repurpose them into stools as well, I had to get creative.

I looked around at a few people's suggestions on how to create cushions, like this one from Hands on Learning. But their cushions fit down into the crates. I couldn't do that because I am using hanging folders and the cushion might crush those pesky little white handles like crazy.

I needed something to go on top. Something that would also be sturdy for some of my larger Fourth Graders. So I measured the width and length of the outside lip of the crate.

It was 14" x 16.5".


Then I went to Home Depot and bought a 4x2' piece of particle board that was only like $4. I had them cut the two pieces I would need from that for my project. I had them cut it slightly larger to overlap the crate at 15" x 18".

When I got home I looked at the sharp edges of the boards and my Teacher Brain went to, "Uh-Oh. Someone's going to get hurt." I took a small bucket and traced rounded edges on each of the corners.

I broke out the jigsaw tool that has been gathering dust in the far reaches of my garage and cut those edges down. It was awesome.

 
Then I some 1' poly foam I bought at Jo-Ann's (hint** Look at the remnants first, they might just be perfect for you.) and took out the Staple Gun to secure the corners first.


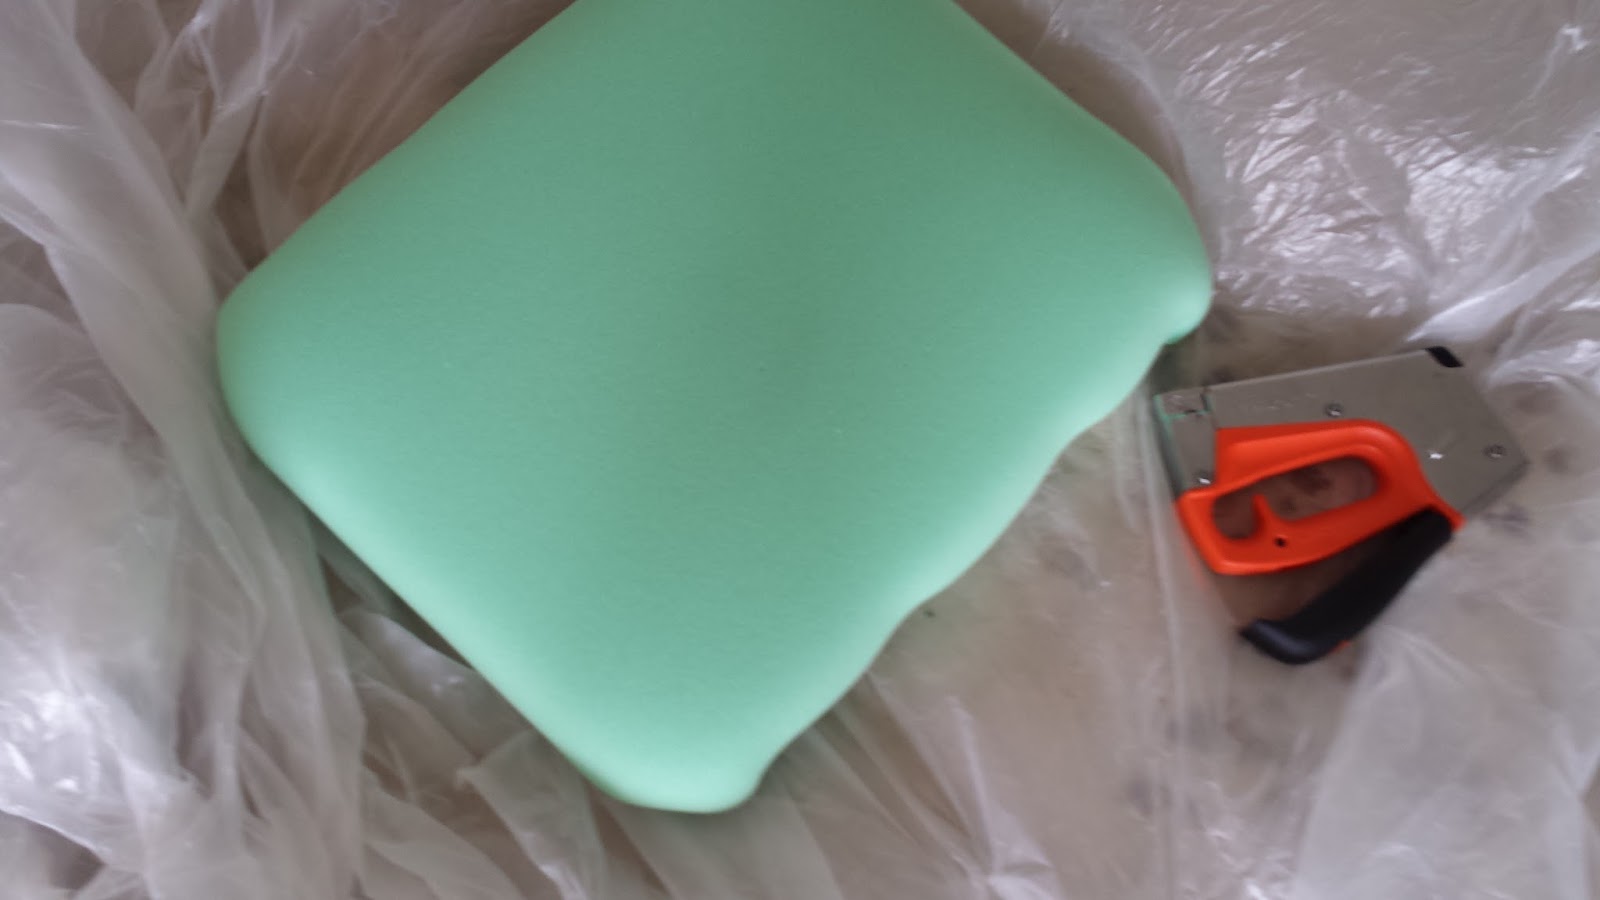
 
 Then I worked my way around the edge of the foam securing it to the board.

 
 I flipped it over and had a cushion ready to for the next step.


 I bought some broadcloth at Jo-Ann's as well. I asked the lady what type of fabric would be good to use in a classroom. This is what she suggested. I bought it purposely a little longer so I would have some room to work with. I had them cut them at 24" lengths. I chose a blue and green for our school colors. Just easy to remember.

Once again I just started stapling around. This time I started on the longer sides, like present wrapping.


 This is what it looked like when I finished stapling everything.
 
 
 My Teacher Brain came back and said, "That fabric in the middle is not going to work. If it's right on top of the crate, the fabric will rip and the whole thing will fall apart." Flashbacks to my chair pocket fiasco.
 So, I needed to remove that middle section of fabric which required a whole lot more stapling.

 
Here's what it looked like when I flipped it over. Great, right????


Now, here is the finished product on top of the stools. LOVE!


Friday, July 22, 2016

Classroom Makeover 2016

Wow! Have you had the moment of realization yet?

The one where you look  up and the calendar says you only have ONE WEEK of summer vacation left?

Because I'm having it. Right now.

There's so much to do! And only one more week to do it.

Shh, don't tell anyone, but I've already been to my room and started setting it up.

That's why I am writing today. I need your help!

This year means some big changes for my little room. We have a new principal, a large grade level, and I'm team teaching for the first time in 23 years.

With the change of students halfway through the day, I thought that seating was going to have to be more of a fluid event. One where the students can be more selective about their seating choices.

A friend had posted on FB that she was trying a Flexible Seating plan this year. I looked into on the internet, Instagram, and Pinterest and thought I would take the plunge.


Here's a few shots of the whole room. Yes, I know. It's tiny. And yep, those are 24 desks put out. But I put the groups into different configurations. There are two groups of 9, a group of 4, and a group of 2. It's all about options, right?

 
Here is a table I raised to waist high so that they can stand up and work. Those two buckets will be holding student work to be sent home and then have cushioned seats on top to be used as stools. 

 
Here's all the room I could spare for a whole group area. I got rid of my oversized chair, my easel, and a large rolling bookshelf. Instead I exchanged it for a thin folding chair from Ikea and placing my chart paper on the wall with some Command Hooks. 

 
I tried to get rid of my teacher's desk, but the custodian tells me that it is a requirement to have one in every room. Boo. So instead I switched out my super small computer table and made my teacher's desk the space for four computers to be set up. 

 
Here's my area for small groups. I have my regular teacher desk things in the small student desks behind this table. I can put my laptop on there and have it connected to the SmartBoard. 

 
As for another seating option, I have these kind of like cubby areas for groups to meet and discuss amazing literature this year. My friend, Jennifer Howard gave me this idea too. The little seat cushions were 4 for $7.
 
 
To ensure that everyone gets to choose the different options and to cut back on the squabbling, I usually have my reading groups set up into Monday, Tuesday, etc. They will get to pick their 'Comfy spots' on their day.
 
 
Okay, so here's where you come in. What else am I missing? How can I make it look more inviting without breaking the bank? Any ideas?? Help!
 
 
Remember, I only have ONE WEEK left.
 
Thanks for your help.