Nothing I've tried seems to keep that awful heaped up mess that students believe is okay. I'm so OCD that staring at papers, pens, chip bags, hair bows, Lego Men, and workbooks hanging helter skelter out of that small desk space. I cringe at some of those monstrosities and have been known to sit in front of it with a trash can beside me cleaning it out.
That was an earlier habit of mine, that I have since gotten over. Now students with super clean desks come in the next day to find a surprise from the Desk Fairy. It's either money to use for classroom privileges or a trip to the Treasure Chest. This approach has gotten more enthusiasm for keeping their areas neat, but not 100% across the board.
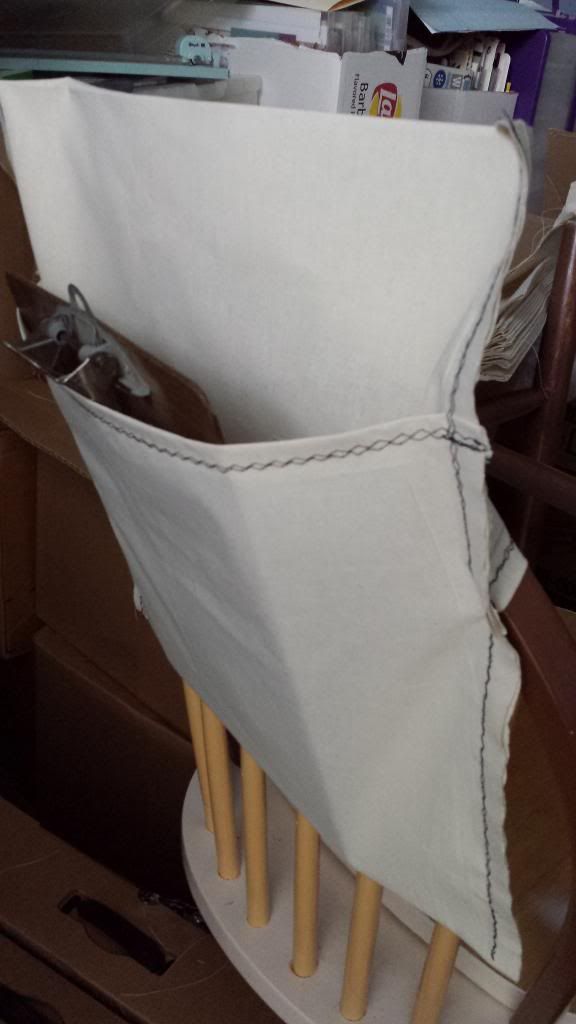
One of my fellow coworkers has a system I am very eager to try. Her mom pitched in and created these great chair pockets where students keep all of the paper materials in organized folders. It removes the paper mess out of the desk all together so I can keep all the textbooks and workbooks inside instead and they won't have to be getting up to get materials. I took some measurements and am using this summer time to create 27 of these life saving devices.
When I was in NYC toodling around with my Mother in Law she wanted to stop by Mood Fabrics to look through their selections. I took the opportunity to scan their materials for my own chair pockets. After looking at several ideas where the material cost anywhere from $7 to $25 a yard, I was a little frustrated. I needed something like 9 yards and wasn't willing to spend $100 on this project.
I broke down and ripped the page out of the Guy Handbook about asking directions. I found a salesclerk and asked her opinion for my project. She knew exactly what to do and pointed me towards a heavier weight muslin. It's cheaper and will hold up to years of wear and tear. The good thing was I spent $36 on the whole 9 yards.
Back at home, I did a mock up template using some leftover scrapbook paper so I could make sure the pockets were all uniform. It measures 36" long by 16" wide. I needed one portion of it to be marked off at 8" from the top and another at 12" from the bottom. This leaves a 16" section in the middle.
Marking out and cutting the fabric didn't take very long, whew.
Then comes the fun part, or funny depending on how you view my sewing skills. Using my middle school Home Ec knowledge I sat in front of my sewing machine and chose a zigzag stitch to make the edges stronger. I started sewing the top and bottom edge to create a hem, I guess.
I turned over the 7" side and then flipped it over to turn up the 12" side. So now I have one flap on the back and one on the front. I sewed the edges straight down the sides to finish it off. I was happy with my first one and trotted off to school and checked to see if it fit. It was a little large, but it works. Yay!


No comments:
Post a Comment