Monday, September 04, 2006

Embroidered Alphas

I think it's time to share a new tutorial. Whaddya say?

Here goes:

I found this one off of another site (http://www.dwphotoshop.com/photoshop/embroidery.php) but didn't quite like the striations it created so I played around and found a twist to it. Plus they were making monograms and that wasn't my purpose either.

Let's start with a new document set for 4x4 inches (1200x1200pixels) at 300dpi. This will give us a good size if anyone should want to increase the letter later.

1. Pick the main color of your alpha for the foreground. Then pick a shade that is darker of lighter depending on your first color. Darker color should be set for background choice. I usually eyeball it and go directly below my color choice.


2. Click Ctrl + Backspace to flood fill with your darker color.

3. Click on your text tool (T) and select an alpha with large open areas so that you can see the effect more clearly. I am using Broadway at the moment. Type your letter and resize as necessary. I have this one at 180 pt.

4. Create a new layer above your text. Click on Alt + Backspace to flood fill with your foreground lighter color.

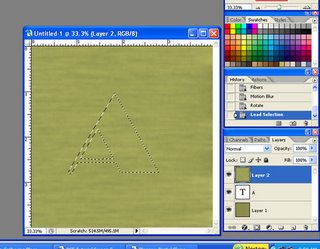
[IMG]http://i3.photobucket.com/albums/y67/frynsg/PSE%20Tutorial%20Screen%20Shots/EmbroidLayers.jpg[/IMG]

5. Go to Filter > Render > Fibers. Set it for Variance 14.0, Strength 50.0. But feel free to play around with these until you get a setting you like.
*Note: Don't worry about the pattern going vertical right now. We're going to alter that.

6. Go to Filter > Blur > Motion Blur. Set it for Angle 0, Distance 5.

7. Go to Edit > Transform > Rotate 90 CW. (For PSE users it would be Image > Rotate)

8. Ctrl Click on the alpha layer while keeping the top layer activated. This will highlight your letter shape onto your top layer.


9. Click Ctrl + Shift + I (letter i) to select the inverse and then hit the Backspace key to delete everything except inside the letter shape. I like to click on Ctrl + Shift + I again to reselect the letter shape.

10. Click Ctrl + Shift + E (letter e) to merge all layers. Your letter will still have the marching ants around it. Don't deselect.

11. Click Ctrl + C, then Ctrl + N (new document in the exact size of your letter), and Ctrl + V. Now you have your embroidered letter on a transparent background to save as an individual png file.
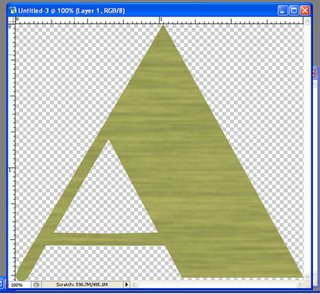
Now you are ready to add your favorite bevelling and drop shadows. Have fun!

Action, Action, Who's Got the Action

So I tried to 'save' my action that I used to create an embroidered alpha. Figured it would save me all of the clicking and typing stuff. Unfortunately I had NO idea what I was doing. I tried looking at the steps that Atomic Cupcake uses for their chipboard action. Might as well print it in Greek, I can't read that either!!

If there ever was a kind soul in this world, they would contact me and try patiently to explain how to create an action...

Anyone? Anyone???

Sunday, September 03, 2006

Simple Scrapbook Quiz #06

1. If you were lonely, whom would you call?
Lisa. She knows all the good gossip in the family.

2. Who in your family do you really admire?
It would be a tie between Lisa and Paul. Both took in children
that were not their own and did a durn fine job of it!

3. Who is your most interesting family member?
Aunt Kate wins hands down. As the matriarch of the Linton clan
she holds a lot of keys to our past. I would love to just sit down
and ask her a bunch of questions.

4. What's one of your mom’s greatest strengths?
Calmness. That woman had the ability to remain calm while
raising five headstrong children.

5. What one quality of your dad’s would you like to have?
Funny, but I would like to do a jack knife off the diving board
like he could. It was amazing to watch!

6. Who's the funniest person in your family?
Lisa, she’s the original Wild and Crazy Sister. I can’t tell you
how often I fell victim to her antics, but I love her dearly.

7. Who's the best cook in your family?
That would be me. I have learned some skills over the years
and can create a sumptuous meal for about twenty people.
Just ask my volleyball team!

8. Which family member would you turn to first if you were in
trouble?
Lisa would get that late night phone call to come bail me out.
Not that I would ever need it....

9. Who wrote or phoned you last?
Jennifer, Darrin’s wife sent pictures of Lowell Fryns.

10. Who in your family are you most like?
I am most like my mother. Her and I are more kindred spirit
than even I probably know. We have the same taste in movies.
Both avid readers and total extroverts. We can cut loose if we
want. And we share a love for travel.

My newest Craze

I am in love with the Simple Scrapbooks Shortcuts -Quizzes book. So much in fact that I actually emailed them to see if they would grant me permission to use some of the quizzes in my digital challenges at Scrapbook.com [http://www.scrapbook.com/forums/showtopic.php?tid/1379051/]. So far no response yet. I did use one of the quizzes they had posted on their website. Hopefully they won't come hunting me down for that!

I plan on using these a lot this year. They are so fun and quick it would be great to hear some of the responses my students will come up with. Then I can use them in my digital year in review album I am creating (or thinking about creating). Wish me luck!

Where have you been?

I have only one excuse for not being around lately. And it's spelled S-C-H-O-O-L!! Mansakes alive! This year has been a trial already. Usually there is a honeymoon period for teachers. The students don't know you yet and you aren't bothered by their little quirks yet. So everything goes smoothly. Well not this year. A lot of the teachers are saying they started the year off with issues. Lovely!
It's doubly hard on me because I lost some of my best friends to graduate school this year. Christine is off at Duke having the time of her life becoming a little lush in the process! Christina is only around three days a week and then stuck in an office on the other side of the building so I rarely bump into her. No one to just hang with and vent this year. Although Alia is quickly becoming a sounding board for all my gripes. Jennifer is also a kindred spirit in that department too, so it may just work out after all. Gotta have faith!

Wednesday, August 02, 2006

I Can't Sleep - So you get a DIGITAL FREEBIE

I consider tonight to be my last night of freedom before school starts again. Yes, Yes, I know. Technically it doesn't start until Monday for the teachers. But I have a luncheon to attend tomorrow to meet my new mentee for the year. I am planning on working on pulling together things to be copied and calling parents to schedule for registration night. So really, the gates open tomorrow....sigh. Where did the summer go?
I am quite pleased that I managed to cram so much into this summer. Started off with the surprise going away party for my best buddy, Christine. Go DUKE!! Gonna miss you, GRIL! (inside joke). Then I had my sitting around the house being a big lazy bum time. Next summer school descended. After that it was the Scrapbook Expo with the Peaches staying at my house. After that it was off to Indianapolis for the RCA tennis championship. Big Hey to Andy Roddick and James Blake!! Of course there was CKU and volunteering. Huge moment for me, personally.
And now school looms near.

Since I can't sleep. I am feeling a little generous. I have a new Baseball themed kit just for you!

You can find it here at this link:

http://www.yousendit.com/transfer.ph...A2C9FE7A19C283

Leave me a comment and let me know if you can't find it, okay?

Now what do I do til I fall asleep?

Friday, July 28, 2006

Guess who is my new HERO???


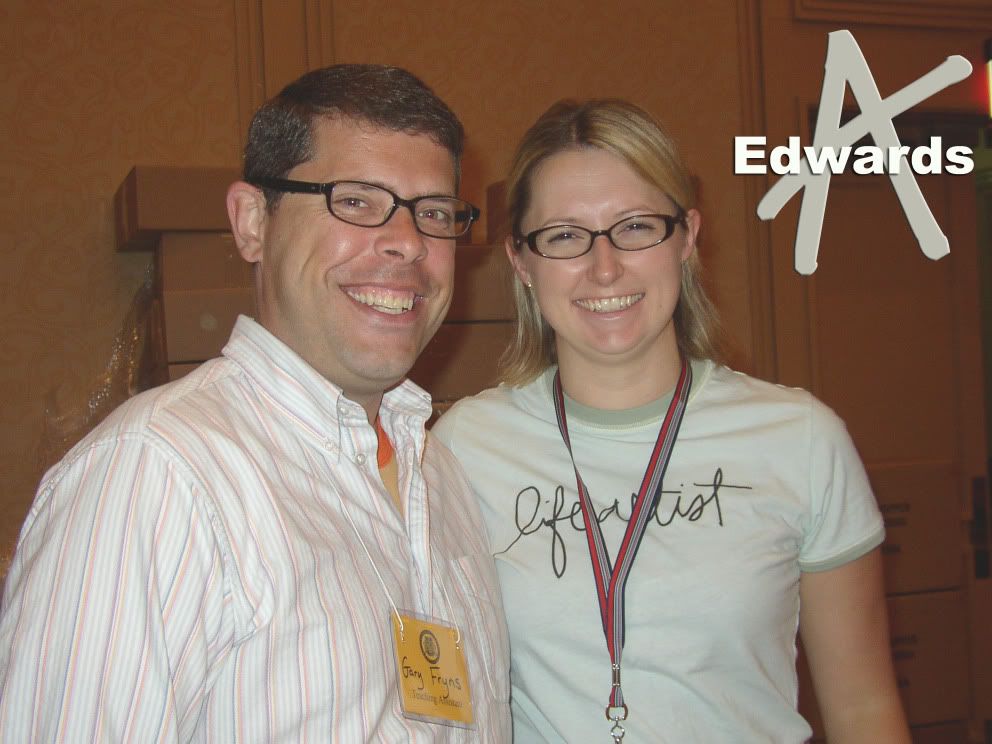
I just spent five whole hours hanging out and chatting with.....Ms. ALI EDWARDS!!!!!!!!!!!!


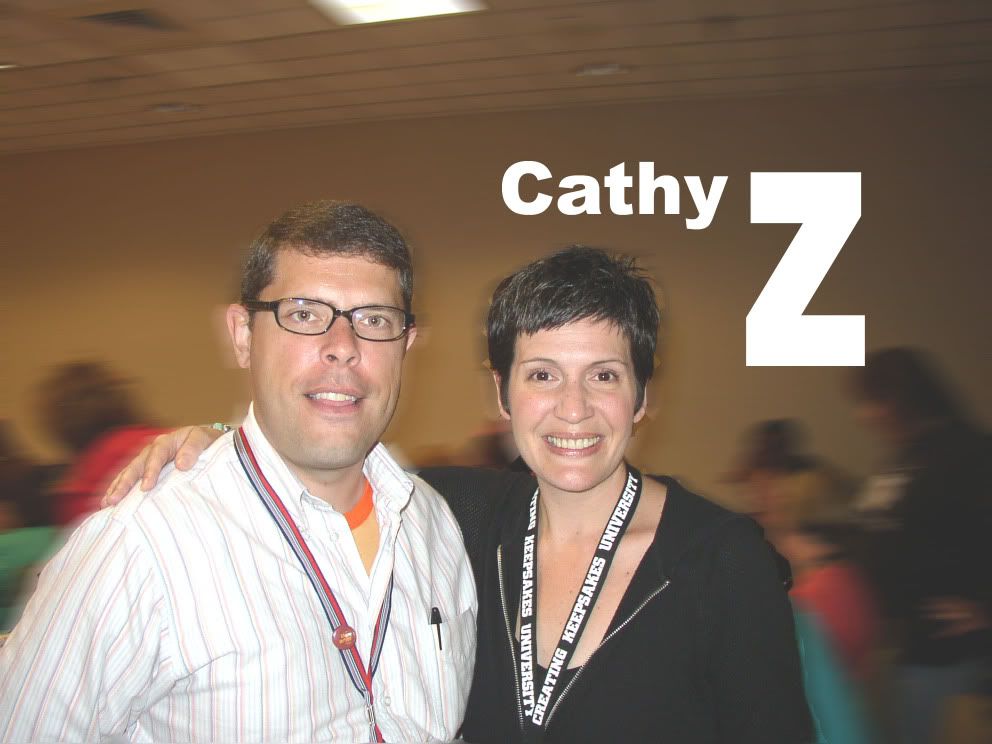
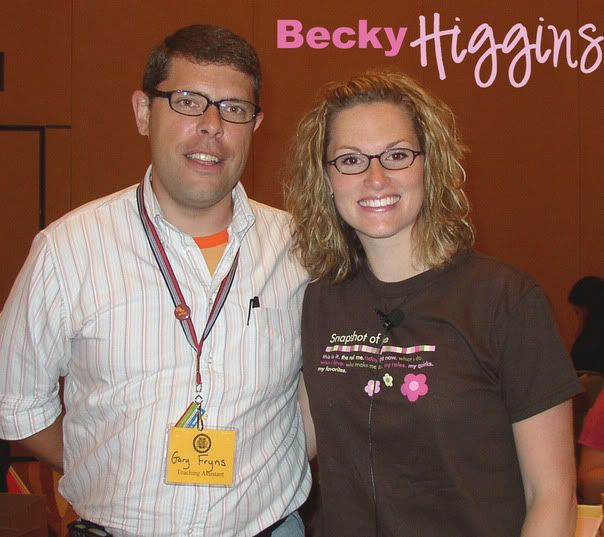
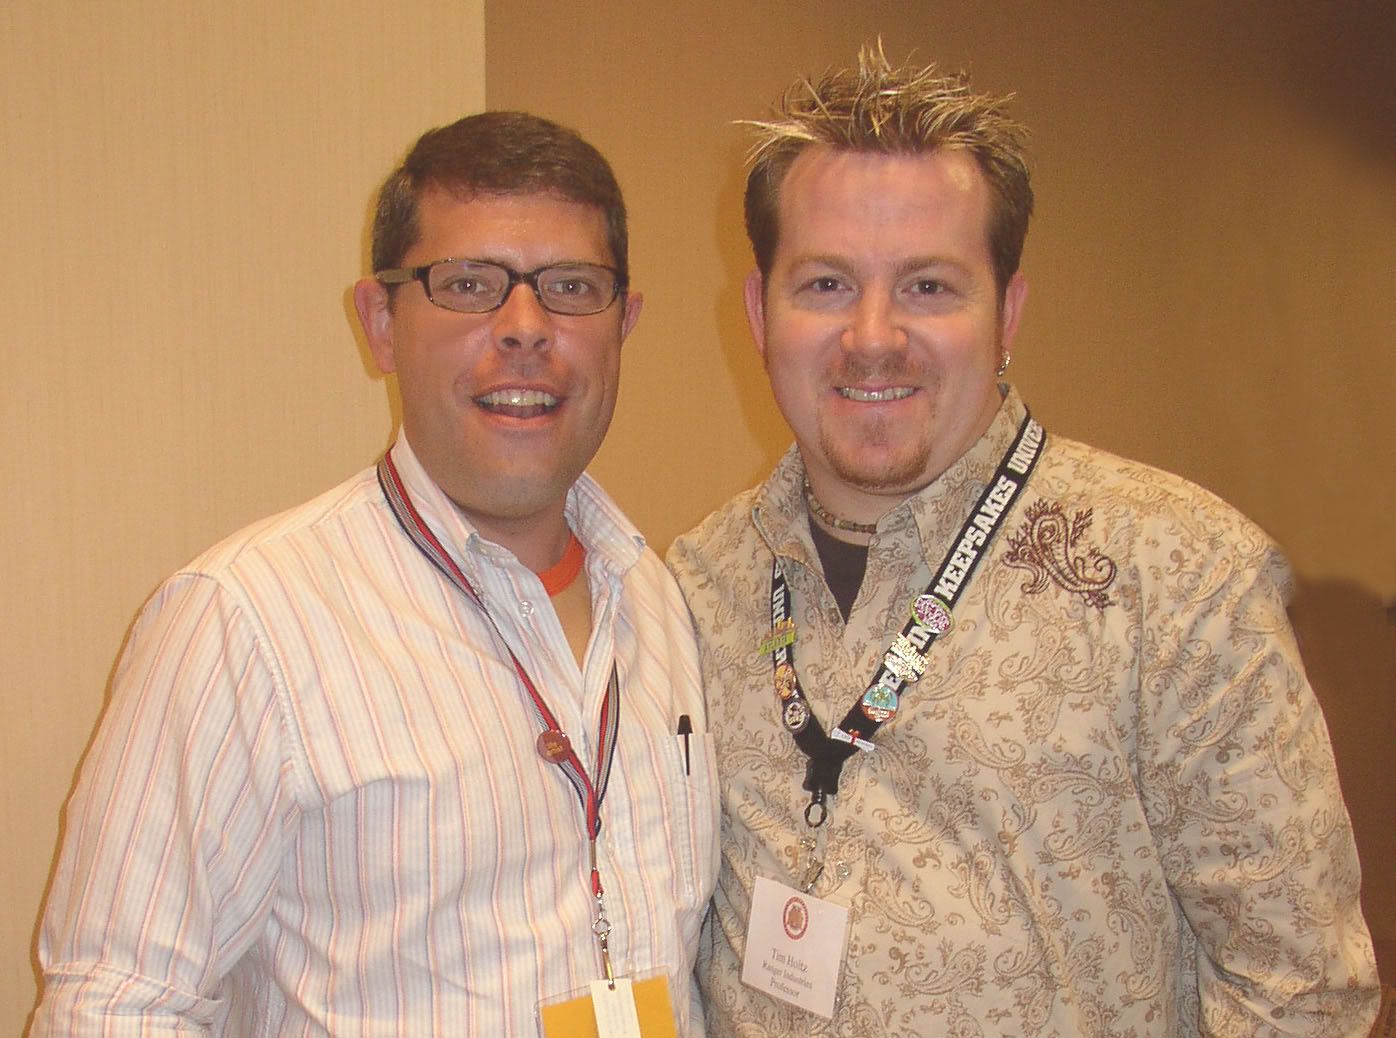
Guys, she is SOOO awesome. So laid back and carefree. It was hard to remember that we haven't been best buds forever. Actually everyone I met while volunteering at CKU-Atlanta was so awesome! I got all the big ones to sign my book. Ali, Cathy Z, Becky Higgins, Tim Holtz , Ginger from Gin-X, and some others I don't recognize right off the bat.

I was kinda fretting that I wouldn't be getting any goodies as a TA because the morning lagged on with nothing being mentioned. But come 1 PM I am informed I get a FREE catered lunch, here is my FREE Ali Edwards lanyard and FREE Cropper Hoppper Stand Up Case and FREE Page Planner 5 packs.

Lunch was a yummy taco bar. Then I was TA for Magic Scraps two elective classes. Emily Adams turned out to be fun to work with too! I hadn't known her before. By the end she gave me BOTH of her class kits and a name for a gal looking for a digi designer!! AS I signed out, I got more goodies. A FREE jewelry case and a FREE bag of goodies with tons of stuff!!


Long but incredibly wonderful day!!

http://aliedwards.typepad.com/


Other pictures from the day:

Tuesday, July 25, 2006

Inspiration - how to create your own texture

How funny that inspiration comes from the unlikeliest of places. I recently took a class at a Scrapbook Expo here in Atlanta on digi scrapping and got more out of just chatting with the instructors than what they were teaching. I picked up a few tips, but most of it I already knew. The biggest thing I learned was that in order to create wonderfully textured background papers in my scrapbook kits, I had to go out and take pictures of TEXTURE!!

Texture can be anything from your favorite pair of jeans, to your mother's heirloom lace, to your hair, and to all things found on the ground. Yep, there is wonderful texture on the ground. That rock bed surrounding your begonias. The wood chips lining your walkway. The very grass itself!!

Go outside right now and take a picture of anything that has a bumpy, lumpy, gritty feel to it. Upload it to your Editor and open the picture.

Save it as a .psd file to Program Files > Adobe> Adobe Photoshop > Presets > Textures.

Now you can use it to give your papers a unique feel.

Open up the file you'd like to add texture to. Click on Filter > Texture and then in the far right next to the textures name there's a little right pointing arrow. Click it to find the option to Load Texture.

Manuever to your newly saved file in the Presets folder and VOILA! Instant texture.

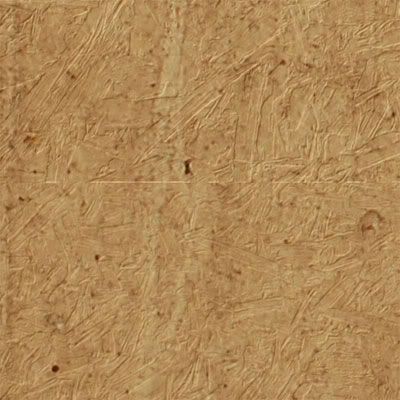
Here's one I did with woodchips:

I'm so bad at this thing.

I thought it would be so cool to join the ever growing population of bloggers. I like to talk. I like to share my views with others.

Why can't I commit to blogging???

Maybe I just need to challenge myself and start a new topic each day. Here I go...

Wednesday, March 22, 2006

Miss Me??

I haven't been a very good blogger, have I? I have been lost in the world of digi kit creation. Amazing the amount of mental stability this requires. I am so sorry that I have neglected you, but I can't promise that I will do more.
Things are starting to rotate in my little world. I am in negotations with a few online sites to start selling my kits. V. excited about this fact. But it means that I need to get serious about correcting all of the kits I screwed up earlier. Can you believe I created the bg papers at 72 dpi and NOT 300dpi? Thank goodness I created all of those patterns and miraculously they are still in the pattern selector! This might make things easier on me. We'll see.

Oh, and I received an incredible email two days ago. ScrapStreet.com wants to publish - YES PUBLISH - one of my LO's. I created this with a kit I love from Alisha Hess called You Are My Sunshine. Love the distressing she used in it and all the rusty embellies. Anyway, I digress. I am going to have an actual PAGE published. This was one of my New Year's resolutions. Amazing that it came true so early.

Forgive me while I dance a little....

Okay, back to my groveling and apologizing...HA NOT!

I am signing off now to get to work on a kit based on a trip to Martha's Vineyard. TTYL

Monday, February 27, 2006

Peach Greet

If anyone has their April issue of Memory Makers, take a peek at page 36. There you will see my big ole' mug staring out at you. The fine ladies behind me are part of my croppin' group. They are so cool!

We met this past weekend in McDonough and had a laughing good time~ I usually do the write ups afterwards, so here's what I said on Sunday:

I was so ready to get going, but didn't want to seem too eager so I hung around playing on the computer til 7:45. Since it would only take about 5-7 mins to get to Courtney's house I thought I had plenty of time. Didn't realize that it was raining out! So I had to hunt around for some way to cover up this huge box full of paper and supplies I was brining in the back of my pickup. Alas, I was only about 5 mins late. Courtney forgave me and we snacked on Fruit Loops. Well, she did, I watched. She had a cough going on. We waited for Martina to arrive. And then set off down the road. We stopped at the Starbucks near Courtney's house where I proceeded to get ripped off. They gave me a grande sized cup when I ordered a VENTI!! Can you believe that? Oh, the humanity!Martina and I debated the finer points of the Canon Digital Rebel XT (both drooling all the while) while Courtney drove. Martina shared her knowlege about camera lenses to be found at pawn shops and ebay. I shared my knowledge about how the casing and grip of the camera was custom made for fine delicate ladies to hold it. She agreed.We made it to McDonough in an hour and found the little group clustered right inside the Super Target waiting on us. It was so great to see Hedda, and Margot, and Lenee, and Nicole and Sam. I didn't get to Lori because she was surrounded by people on one side and coffee beans on the other! It was so neat to finally meet (hey, I rhymed) Amy Lynn! Great to put a face to all these posts we've been reading! Plus, she brought an awesome peanut butter cake. So we like her now. Kate and Kay came later after we had played musical chairs with Martina. We moved her to one side of the room to the other so that I could sit next to a plug for my puter. It all worked out cuz she got to sit with Courtney and the donuts. I got started right away with shopping! We all had to take a poke around the store to see what they had that had to come home with us. THey had a little Easter tag make and take going on at this time. The table was surrounded by Nicole, Hedda, and Lenee. I was rudely shoved aside...boohoo. Seriously, though. The tags were very cute.I began my first project which was NOT the baby album. I found a great card LO in my Bazzill Eclectic book and created seven cards to give to my Secret Pal coordinator at school. Lenee and Nicole made up their banishment of me from the make and take by offering their advice for design features. They came out great! I think she will like them. I was stuck against the wall all day, but from what I could make out Lori was working on her Gecko Girl page. Ask her how she made her own portable compass! Nicole was putting together her daughter's bday party at Chuck E Cheese. Kay was finalizing pages in her gorgeous heritage album. Margot was scrapping the pictures from our Thanksgiving greet in Calhoun. Cute colors! Courtney didn't have time to print out new pics, so she was working on some pages from Seaside, Florida. Sam was working like a maniac as usual. I didn't go near her because buttons, pieces of ribbon, a glue stick, and paper shards were flying every which way. Kate was hammering away on her end. Hedda was keeping calm, even though her wedding kit didn't include enough paper to make the LO's. Lenee was plugging away on her four pages. And Amy was working so quietly across the room from me. I never did get to sneak a peek at her work. I must remember to do that next time!After much haggling, we all decided that Chili's would be the place to eat. Hedda suggested we walk there. We all took one look at the torrential downpour and politely said, "NO". We had to wait a bit for our table because there were twelve of us. So we spent our time going through the menu to know exactly what we wanted when we sat down. Lenee had to go early, so we were anxious for her to eat. Lunch was fun. Full of talk about marriage, virgin angels, and the Miracle of Life. My stomach will never recover!We got back and Margot proceeded to tackle me and shove baby paraphenalia into my hands so that I would finally sit down and finish that baby album I started in Dec. Under her careful eye I did complete the job to a resounding chorus of "hallelujah". I just need to tie some ribbons along the spine and it will be done. I will immediately phone Margot when that is completed. The rest of the day went by so quickly. I couldn't believe it when I looked up and it was 6 o'clock already. I wowed the girls a bit with my digital skills - Courtney still can't believe I created a monogram with a textured matting in under three minutes! Then it was time to eat again. I reheated my lunch and dug in. The salesclerk came and hung out with us as her customer base slowed to a trickle. She wowed US with her tale of staying til 3:30 A.M. Friday night for a crop at the store. We thought we were bad!7 o'clock rolled around and with an hour drive staring at us and Courtney's cough medicine kicking in, it was time to go. We packed it all back up and hauled it all back out to the SUV- Courtney's Big Girl car. I hugged Lori TWICE this time around.The conversations ranged from Courtney's upcoming trip to Alabama to meet Elsie Flannigan and Heidi Swapp (jealousy has already set in), to who's going to steal the winnings of the SB $20,000 contest this time. Are they going to let me say that?I made it back home safely and was curled up on the couch by 8:30. Another Peach Greet for the record books.

Sunday, January 15, 2006

Crucial Information Here

I have been searching and searching for the correct procedure. Finally someone had to smack me down when my files were creating too much bandwith at the FTP site. (they were too big and taking up too much room!) Apparently when creating digital elements it is customary to save in certain formats.
1. For Background papers make sure that you start out with it set at 300 dpi. This will let the new owner of your kit resize to their heart's content without the original getting all pixelated. Then save your files in jpeg format.
I usually save them at 500x500 for the web for viewing purposes.
2. For elements, or anything with transparent backgrounds (ribbons, slidemounts, etc) save them as png files. People are requesting that they all be in their own individual folders for ease of use. No one wants to learn the new trick of trying to cut an embellie from a slew of them on one page.

Earlier Question: "Would someone please comment and tell me if I need to interlace or not when I save it to png????"
Answer: NO, you do not unless you are using it for webpage design.

TOU

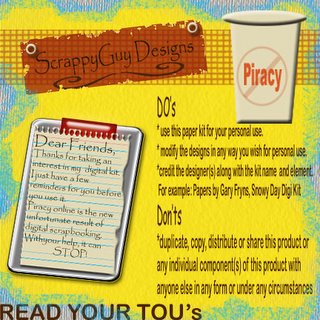
How sad that I even have to create something like this!
Who woulda thunk that online piracy would be sweeping the digi scrappin' world? Well, it has been and is being done. People are getting them for free or even buying designers kits and then passing them along to their friends. I understand this saves costs for you. But what about the designers who sit there for hours on end, blurring their eyesight just so you can have this beautiful kit for FREE!
Please remember if you are going to share a free kit with someone, send them the link to the site so they can download it themselves. The designers work off of the hits their websites get. If we start sending files directly to others, it takes that crucial step away from the designer. BAD BAD BAD

Saturday, January 14, 2006

Magic Mesh is SUPER easy

I absolutely had NO clue that making magic mesh would be so easy. I was creating a layout for something and thought some magic mesh would be perfect on it. I remember that Scrapbook-Bytes had a tutorial. I zoomed over there and was surprised that it had something like THREE steps. I thought this can't be possible. But it is, IT IS!!
If you click on your paintbrush tool and select the Faux Finish brushes there are several brushes already done up in the format of magic mesh. So all you have to do is set the size you want and click away.
I tried just brushing straight across, but it was one big mess. I was working on some other stuff so I kinda cheated and just clicked each section next to each other. I am sure that you could play around with the spacing and the scatter options to make it easier.
So, GO PLAY

Have you found this site?

I was reading through some posts on TheDigiChick.com
when I came across a helpful link I NEEDED to share
with y'all! http://favormark.com/ie/fem
sawyers_scrapbooking_links/776045

It lists tons of sites and links for help with PSE. Things
on backgrounds, elements, textures, filters, scripts, and
the list goes on and on!

There's something out there called BladePro that is
supposed to make element creations a snap. I have to
check it out and get back to you.

Saturday, January 07, 2006

AWESOME Photo Effect


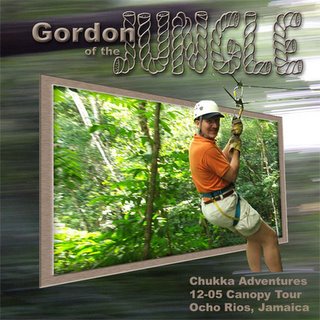
I stumbled across Graphics.com site about photoshop effects. I saw one they did where the subject of the picture seems to be jumping right out of the frame. It was incredible and actually pretty easy to create. You just have to know how to use your magnetic lasso to isolate a shape and your distort function to pull the edges of the photos.
Here's what I did with it. What do you think?

The background is a mistake that I took while flying through the trees. I loved the blurred effect of it and thought it went well here.

UGH!!

I am NOT loving this Radiance kit. I think I am trying to use too many realistic elements. I took the photos of blankets and fabrics from the stateroom and tried using them as background papers. I resized the original photo to fit on 12x12 and then added texture, or grain, or burned some edges. I even stuck to a color palette of blue, red, browns. I am just not loving it as a kit. Would I use it? Probably not, so I have to do some thinking on this.

One bright spot was creating this tag that I thought was pretty cool. I used the star embellishment I shot in the bathroom of all places.
1. I made a simple black rectangle and then topped it with an arrow shape also in black.
2. I duplicated that layer and then reduced it a few % just to offset it from the black background. Then filled it with an antique brown color.
3. I used Richard's Old Paper Tutorial (http://www.richardsramblings.
com/archives/2005/01/001758.html) and distressed the edges of the smaller tag layer. I couldn't quite understand his ideas on dodging and burning the edges by various degrees, so I skipped that part.
4. Then I pasted in a copy of the star embellishment and reduced the opacity of that level.

Banner Idea


I thought about using this as my banner. I am still trying to figure out how to do that, but it's not happening! HELP!